Pages

Showing posts with label Make a garment a month. Show all posts

Monday, 22 September 2014

Lekala 8004, a faux wrap knit top


What to do with an end of the bolt piece of lightweight knit in deep purple? Back in March BT (Before Tripod) I tried my first Lekala pattern. More on the construction and thoughts on sizing can be found here. What the pictures did not show clearly (duh, no wonder when you're not modeling your garment!) is how wide the neckline is. The shoulder seam is barely existing, the v-neck practically ends at the top of the arm.
As much as I liked the look, the combination of long sleeves and bare shoulders wasn't very practical. It was often too hot or too cold to wear this top. Time to get the pattern out again!


In brown the extra length added for a vertical only FBA, in red the extra inches now added to the neckline, front and back. It may not look like a big difference but it's much more comfortable when you're not feeling like you're sitting in the middle of a draught all day long. 


Excusez the weird look, it's the best close up shot of the new neckline....


And the back. Looks like I'm directionally challenged when I'm trying to take pictures of my back side. Always missing some limbs or even my head.


Looking at these pictures it may appear like I could go down a size. I pinned the side seams in to check and although it improved the fit, it did not improve the overall look. This fabric is so lightweight that the belt loops and button of my jeans show through it if I go any tighter. 

I do recommend this free pattern to anyone who wants to try a customized sewing pattern. Instant gratification: just minutes after sending my measurements the pdf was in my mailbox. 
Someday soon I will try one of Lekala's skirts to check the fit on my bottom half.

Did you try a Lekala pattern? Did you like it?

Wednesday, 30 April 2014

Mabel, what's not to like?


After a month of more sowing than sewing here at Foxgloves HQ I'm back to show you the first of many, many Mabels. I've made a lot of old school pencil skirts: woven fabric, pegged, lined, slit. The kind of skirt that is utterly useless when walking the dog, mowing the lawn or riding your bike to the grocery store. In my neck of the woods two out of three of these examples are daily business, so pencil skirts are SOO (Special Occasions Only). But, thanks to Colette Patterns there's a major breakthrough. Mabel is a pencil skirt that's so comfortable you could even go to sleep in it!

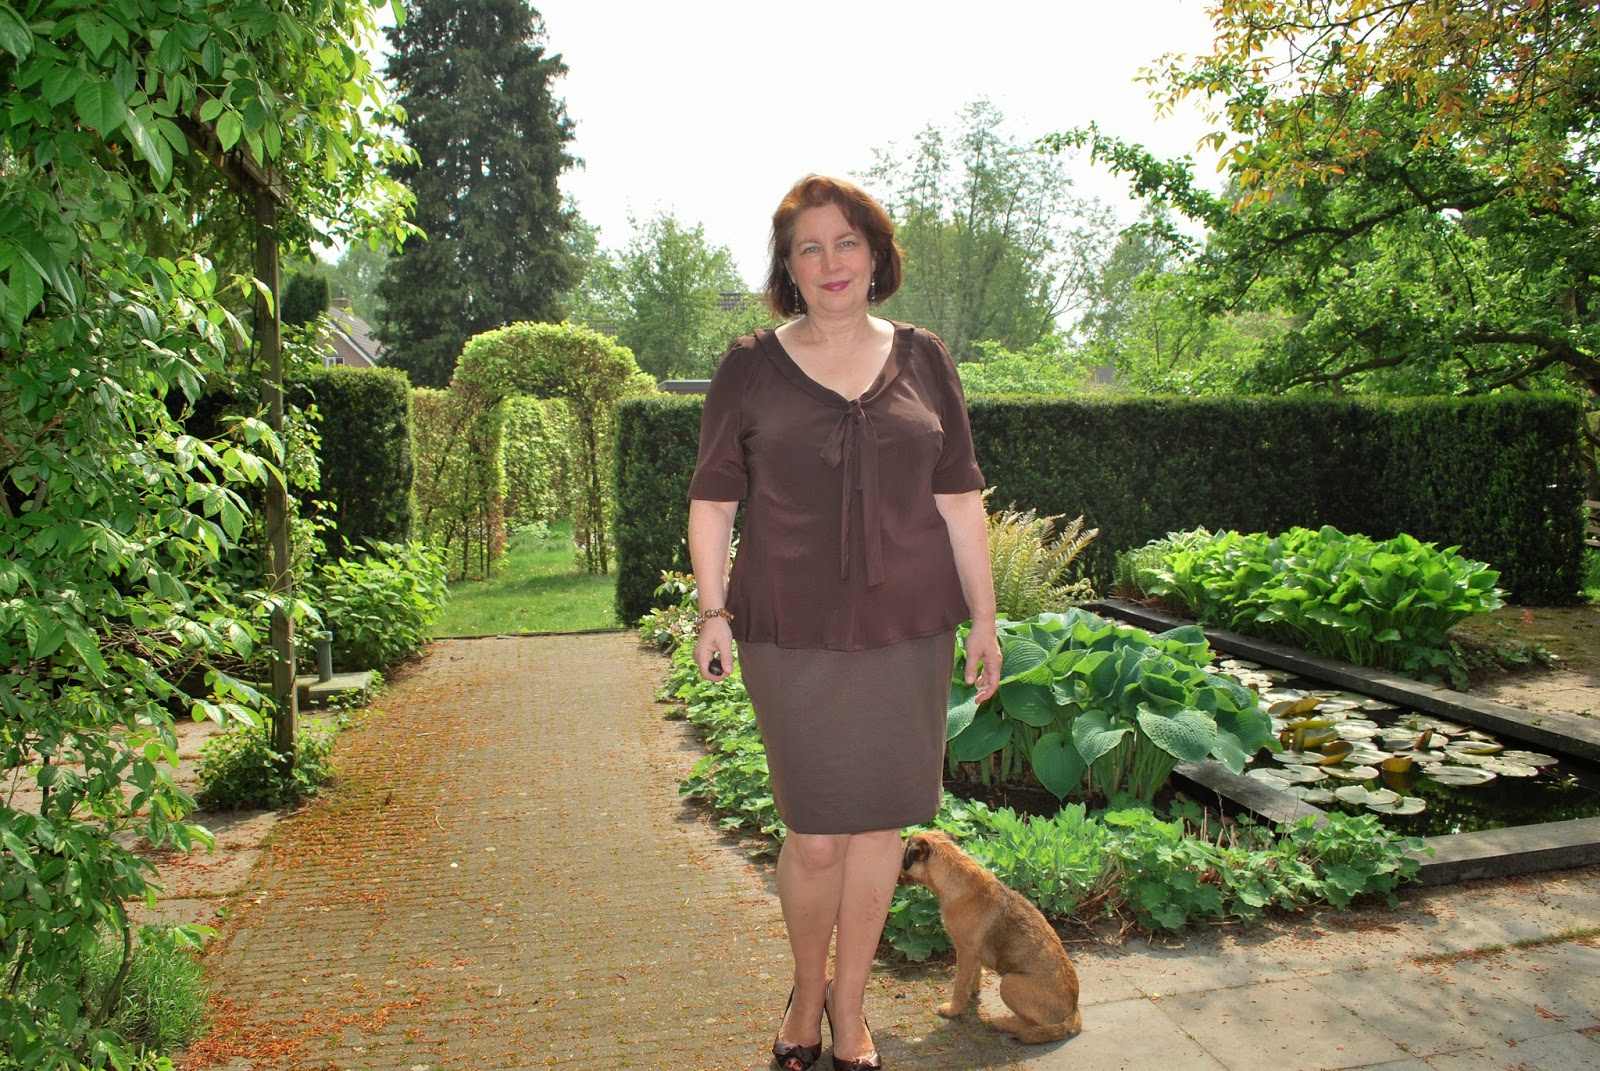
Colette Mabel skirt and Lekala 8004 top


The construction of this skirt is quick  could have been quick, if only I had put some trust in the pattern makers. In order to avoid the dreaded muffin top I chose a bigger size for the waistband. Which resulted in gaping at the back. After some seam ripping I even took out more than I originally added.
I was also worried about the length of the skirt. I'm 1.73 m (5'8) and could not find the heigth this pattern was drafted for. I added 4 cm to the pattern pieces. Guess what? Exactly the amount I had to cut off again at the final hemline. 


Colette Mabel skirt and Colette Jasmine blouse


One more note on the construction. Since I mentioned making the Mabel skirt I noticed some traffic to my blog via Google search on 'How to sew a kick pleat in the Mabel skirt'. Let me reassure you. It's not a slit construction, it's just a simple pleat. Sew a straight line, fold to one side and make a little topstitch. That's all!


Instead of using a twin needle for quick hemming I chose for hand sewing. My usual routine, never take the easy way if you can make things a little more complicated... 

This skirt is so versatile! I like all three outfits I made up with this simple skirt and can think of many more.
More on the Lekala top can be found here, for more on the Jasmine click here.

Since this was my first session with a tripod and a remote I'll make this post picture heavy, just because I can.


Well, you get the picture. When in doubt, make a Mabel skirt!

Monday, 10 February 2014

Finished wrap dress


Vogue 8379 is finished, and just like the furry assistent I don't really know what to think of it. It was an easy make with some little adjustments. The shoulders were a bit too wide, I took out 1,5 cm before putting in the sleeves. I took out some of the fulness of the skirt and lengthened it by 15 cm, aiming for the top of my boots. 


A (badly lighted) picture from the sewing room which shows the pattern's potential for a sleeveless summer dress.

I omitted the facings and instead used some fusible tape and turned the sides under. I added a small gingham ribbon to stabilize the back neckline and the shoulders and used the rest of the ribbon to make hanging loops.


What more is there to say? It's a very classic dress, bordering on boring. As I wrote in an earlier post, my intention was to make this dress in a very rich purple. Perhaps that would have provided the wow-factor it is now lacking.


On to the next sewing adventure that hopefully results in a bigger smile!

Happy sewing!

EDIT: After receiving lots of positive feedback, in the comments, by mail and in real life, I think I've been to hard on this poor dress. 


After seeing these pictures of a 300 euro LK Bennett dress I am even considering a second make with a slightly shorter and straighter skirt, and maybe in a print resembling the one used for the dress on the right.


Saturday, 4 January 2014

Guess the color!


Last month I bought some fabric at an indoor market. At the time I was sure I bought a purple ponte knit. At least the ponte knit part was correct. Maybe I should listen to my optician after all but I prefer to blame the bad light conditions. Anyways, when I got home and unpacked it in plain daylight I discovered it was the kind of shade that looks blue next to purple and purple next to blue.


No matter what we call this color, I like it. Well, making a jacket or a skirt out of this would be asking for trouble. Finding matching prints for shirts is like searching for a needle in a haystack and I am done with wardrobe orphans. 
Okay, now that I have ruled out separates, how about a dress?
Let me think. January equals diet. Not the perfect time to make a garment that is very fitted at the waist.
How about a wrap dress?


Vogue 8379

Vogue 8379 will do the trick. I want to make view B with the longer sleeves but skip the collar. Now all I have to do is find some matching thread in the blue-ish / purple-ish department.

I'm prewashing the fabric while watching my new Craftsy class on sewing with knits.
Always nice to pick up some new tricks!


Happy sewing!


Monday, 30 December 2013

Lace skirt finished


My lace skirt was finished just in time for Christmas. Considering the fact that working with lace is a bit time consuming this skirt was a relatively easy make. In my earlier post I described construction details until basting the hemmed underlining and lace together. I stitched the side seams and inserted the zipper by hand.


The pattern used satin bias tape as a visible finish at the waistline. I chose to use grosgrain ribbon on the inside and added a hook and eye instead of a button. The waist ended up a tad wide, lucky coincidence taking the amount of food at the Christmas dinner in consideration!

Looking at the picture I'm not very pleased with my styling. This skirt definitely asks for more delicate tights and high heels. Well, sometimes you need to make a concession. Specially when travelling by public transport and walking the streets of Amsterdam with the furry assistant.


On Christmas Day we went to the theatre to see The Sleeping Beauty, a magnificent production by the Dutch National Ballet. Principal dancers Anna Tsygankova and Jozef Varga stunned the audience during a overwhelmingly beautiful performance and received well deserved standing ovations and curtain calls.


Here's another picture, also at the theatre. I'm standing next to one of the amazing costumes from The Sleeping Beauty. Those are real works of art. Delicate fabric, beautifully embroidered with crystals and pearls. Yep, there's lace skirts and lace skirts!


Although the one on the left is in another league I'm very happy with mine!


Thursday, 19 December 2013

Lace for Christmas

During a city trip in Ghent, Belgium, I bought some lovely lace.


It disappeared into my stash until I saw this skirt in the december issue of Knipmode:


Because I wanted to use the scallops of the lace for the hem I decided to make a muslin in order to make sure the length was right before cutting. Hooray for the muslin! The length was just perfect.
That was about all that could be said in favor of this skirt. I like my pencil skirts to be tapered towards the knee and at first glance this picture looked okay. Ehhmm, you know, I like how the skirt is going down to the right knee. Now look again. What's going on behind that little silver evening bag? Right. Lots and lots of fabric. That line drawing should have been a clue. That's one boxy skirt!


Out with the ruler! It took two rounds of adjusting, in the end I lost over 20 cm of hem circumference.
Taking out more would mean making a kick pleat, in lace. Don't think so.


Next challenge. Hips. I'm curvy, but this skirt got some prefab hips like you would not believe! Ruler making overtime to flatten out these kingsize curves. Ha! It's finally starting to look like a pencil skirt. 

The pattern instructions are for a lined skirt. Since I don't want my darts and side seams showing through the lace I chose for underlining. My inner stash police voice told me to use what I've got, which left me with the choice between satin for a shiny look (tempting, very Christmassy!) and this fabric of unknown origin:


Right color, perfect drape. We have a winner! 

I hemmed the underlining by hand. As you can see, or better can't see, it's pretty much invisible. I really love those relaxing couture techniques.


Then I put the lace over the underlining, matching the hems at the top of the scallops.


It's a dark and rainy day so I'll put on some candles, pump up the volume of the Love Actually soundtrack and start hand basting my layers together.

Happy sewing!


Monday, 9 December 2013

Next up: the Anna dress. For real.

The Jasmine blouse is finished, I just need to take some pictures of it. Preferably outside, because the color and details are hard to catch in flash light. Update will follow soon.

Next up is By Hand London's Anna Dress.


When I planned to make this dress in september I needed the long version in black, to wear to a ballet gala. The pattern got lost in the mail and there was no urge to make the formal Anna any time soon. Sewing plans were piling up and I forgot to return to the pattern. Until recently. Wouldn't it be a nice, comfortable dress, perfect for the holidays when made in a vibrant red ponte knit? Midi, V-neck and long sleeves. This time I'll make it. For real!

Tuesday, 19 November 2013

Fitting buddies for a day

A few weeks ago I was celebrating my birthday. For me the best thing about birthdays is having the kids around. And they brought the best of gifts!


A Kenneth D King inspired ruler, a gift card from my youngest daughters favorite fabric store in her hometown Enschede, flowers and a big chunk of beeswax. Sewing related presents and flowers, those girls and their boyfriends know me so well!

One of my daughters could stay for another day and she wanted some help on sewing a Sewaholic Pendrell blouse. Since she wants to make all three views of the pattern we decided to make a muslin, tweak that to perfection and then make all necessary adjustments to the flat pattern.

sewaholic.net


She's just over 1.80 m tall so I was hoping to check if the waistline hit her at the right spot. Boo! No waistline mark! So we eyeballed one on pattern and muslin and checked the fit. Not too bad. We took the princess seams in, adjusted the shoulder seam and then it was time to make those corrections to the pattern.


Things are obviously progressing well in Amsterdam cause she sent me this picture recently:

Look, mom! Matching seams!

Since I don't have sewing buddies around on a regular basis I asked her to check the fit of my jeans, aka Garment of the Month October (blush). Together we reached a surprising conclusion. As I was grumbling about the extra fabric at the back of my upper legs my daughter pointed out my original jeans had the same issue. Nooooo! Really?? Well, it turned out I DID succesfully copy my favorite jeans after all.
That's good, because I proved the method worked and in theory I know how to copy anything in my wardrobe now. But. My favorite jeans has its flaws.
Flaws I won't accept in my bespoke jeans pattern. So we pinned out the extra fabric and I'm in for some quality time with my seamripper. It will be fixed!

In the meantime I prewashed my fabric for the bow neck blouse that will be Garment of the Month November, I've traced the pattern and will be making a muslin. Since I'm not sure which of the sleevetypes I prefer the muslin will get one of each. I'm also opting for a bigger bow so it's playtime in the sewing room!


Wednesday, 6 November 2013

Garment of the Month November

Although I did not yet finish the Garment of the Month October, I will ignore this tiny calendar issue and cheerfully reveal my plans for November. I've chosen a less complex item. Yeah, steep learning curve!
This month I'm planning to make a Colette Jasmine blouse in a chocolate brown cupro.

Colette patterns

The bow will probably be changed for a much bigger one. Soon after I made up my mind about this months challenge I discovered the Bow Neck Blouse sewalong hosted by Seamstress Erin. On her blog Erin is sharing inspirational pictures of blouses and dresses with bow necks, from the 1920's till now.


http://seamstresserin.com/bow-neck-blouse-sewalong/


I will be checking Erins blog and the BNB-Flickr group for inspiration on the size of the bow.
Regarding my jeans, I had some fitting help and know what to do next. More on that tomorrow!


Thursday, 31 October 2013

Confession time


Remember my Garment of the Month? I posted my plans here, and wrote posts about copying the pattern from my favorite jeans and construction the pants here and here.This post is about work in progress part 2.
What's taking me so long?
Those brilliant video's with Kenneth D King!
Wait, weren't they supposed to be helping the progress? O yes, in the long run they certainly will. But for now I'm gazing at my iPad for hours in a row.

After finishing the pattern I was in doubt. Speed things up by quickly sewing the jeans (I have made my share of jeans, I could skip the tutorials), or watch every minute of the Craftsy course because you never know when another lightbulb moment will come up? I chose to follow the step by step construction and I was not disappointed. Usually I am not very good at 'follow the leader and do as you're told'-stuff. But watching a sewing genius at his best had a very relaxing effect. Mindless sewing: when the Maestro tells you to stitch your seam, or give it a good press, you just go to your sewing machine or ironing board and do it.
That's how I constructed the overlap at the fly by adding the fly facing piece, made the shield and installed the (thrifted) zipper. 


Uhh ohh, that's weird! I The zipper is placed with very little overlap. But who am I to overrule the professor? Then I noticed some comments made by classmates. One of them mentioned she was happy with her new jeans, except for the zipper placement. So much for mindless sewing. Time to get my brain in gear!
I finished the fly front in my usual way and went back to the course. 
Except for this little disagreement on zipper placement I loved the lessons, overloaded with amazing tips and tricks. How about pressing your seams on a wooden rail? Anyone? I won't spill all the secrets, but mr King is sharing some sew-changing miracles!

So. Where's the finished project?


The good news. It's really coming together and I tested the fit this afternoon. The fit is great at the hips and at the bottom, the front is really flattering because of the slimming effect of the pocketstays.
The bad news. The legs are a bit wide and the inseam needs a little bit of attention close to the crotch area.
Decision time. I can:
a) hurry up and make a quick fix in order to finish the October garment in October
b) keep calm and tweak on
The old me would now rush to the deadline. But after some sewing related contemplation I promised myself never to let deadlines interfere with the outcome of my work.
So sorry, Sarah Liz and fellow Garment of the Month makers, I fail, for perfections sake. Or does that sound like a lame excuse? Anyway, I will continue the quest for the perfect fit and go for option b.

Time for a little sewing break. My birthday is coming up this weekend and there will be some entertaining over at Foxgloves Castle. My sewing room doubles up as guest room, it's high time to evacuate. The guests might also expect some food and drinks, so I'm off stocking the fridge and baking cakes!

Tuesday, 29 October 2013

Work in progress


October is coming to an end, which means I'm running out of time to finish my Garment of the Month. Well, at least I have a few pictures to show some progress has been made.
I attached the back pockets and the yoke, pressed and topstitched and went on to assemble the front pockets.


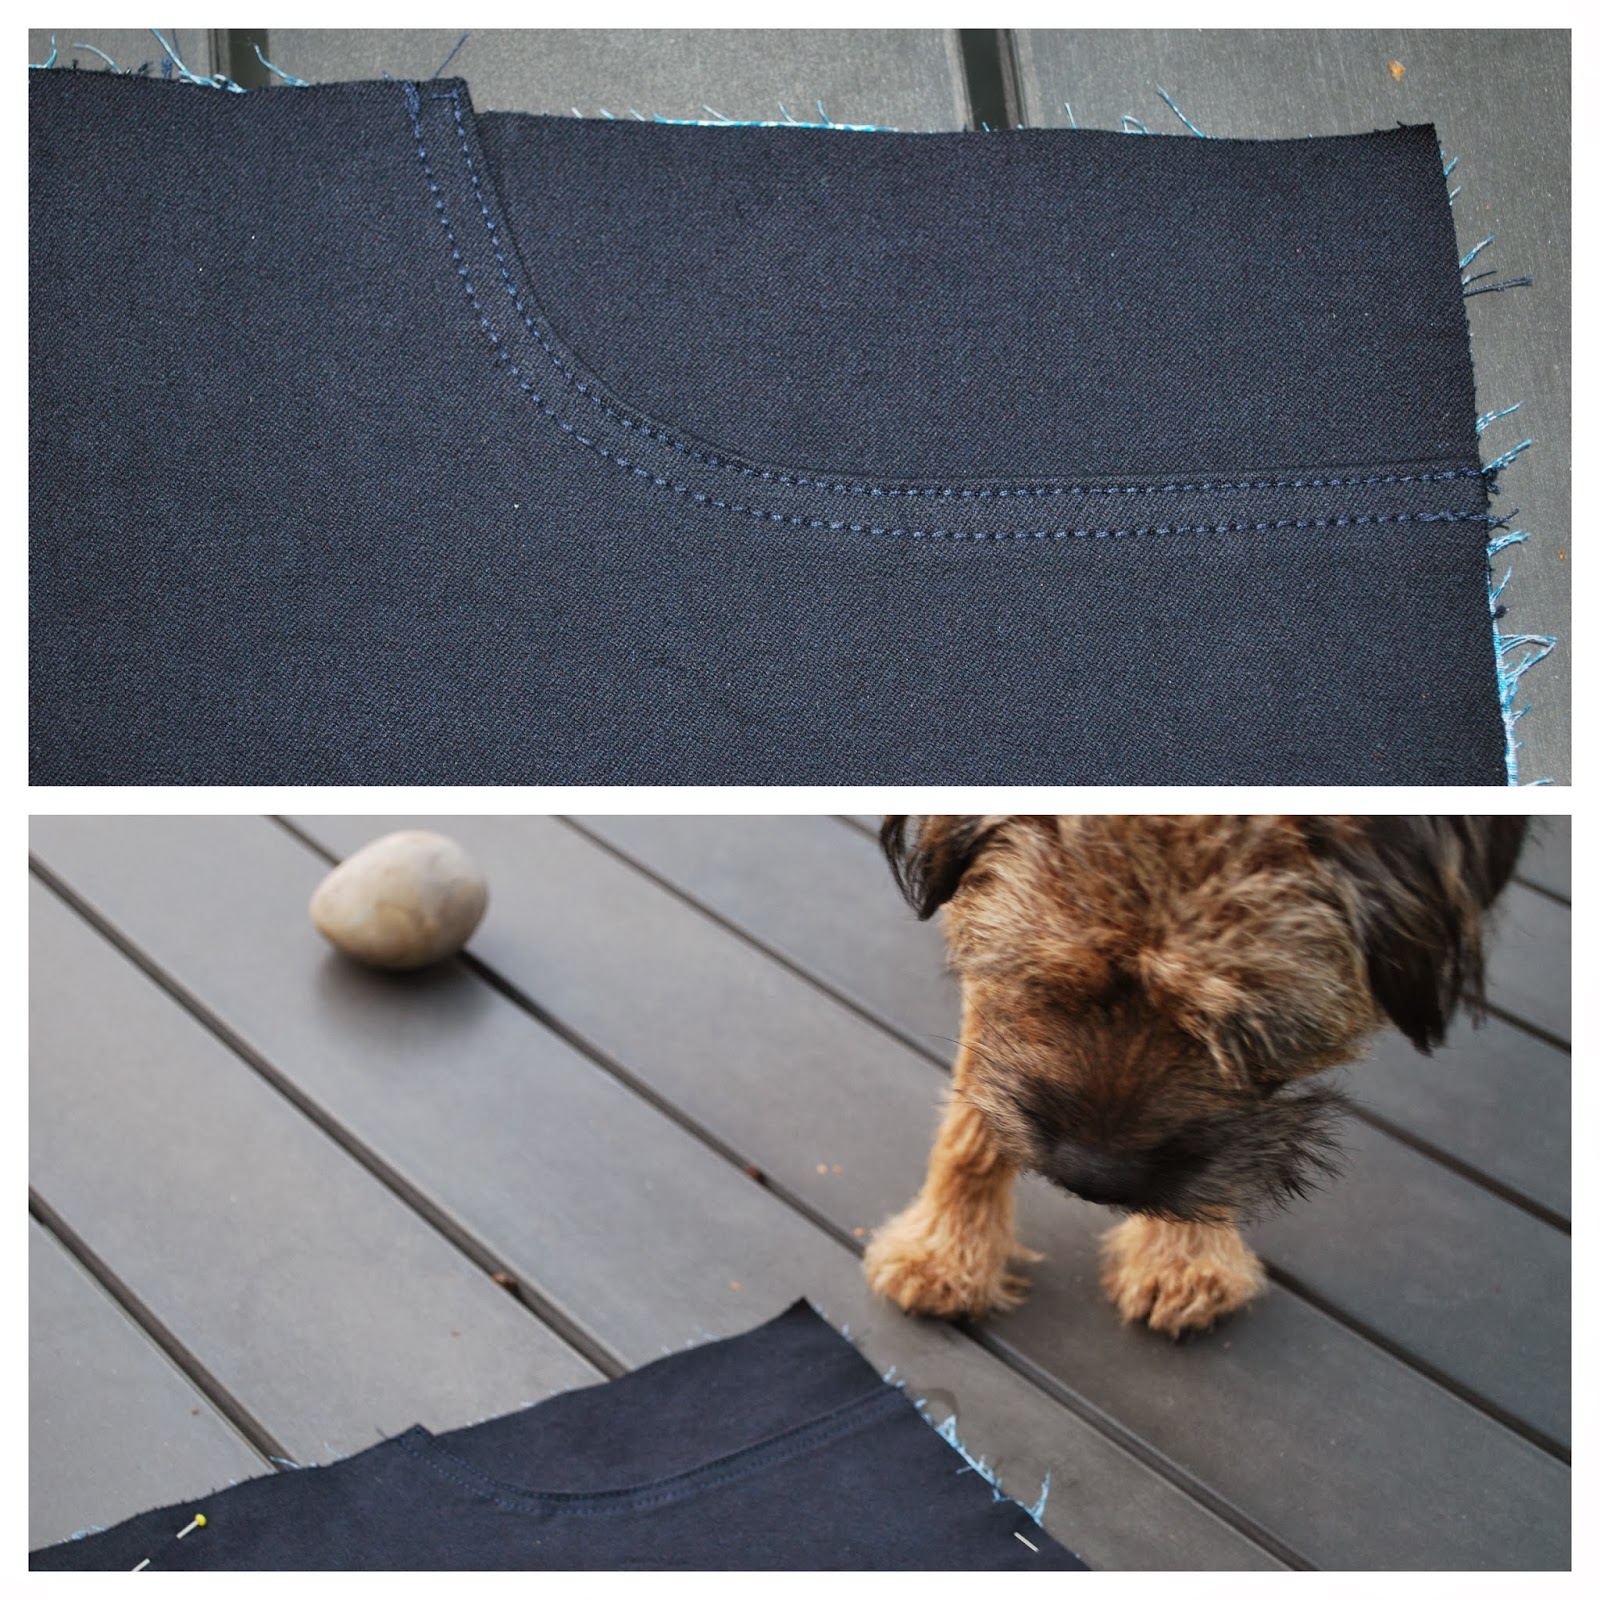
I used some cotton lawn for the pockets, added jeans appliquees to the visible part of the pockets and of course the little fifth pocket to the pocket back. I created a pocket stay by drafting a stay line up to center front. No more shifting pockets, and it flattens the tummy. Perhaps the latter is wishful thinking, but it won't hurt to try. On the picture below you can see how the pocket fronts run from side seam to center front.


The topstitching (midnight blue on midnight blue, what was I thinking?) is hard to see in pictures. Also hard to work on in artificial light conditions, and uhh, hard to see in general. Could have skipped that part, but I'm such a sucker for topstitching. So is my furry assistant who is in charge of quality control.


Tomorrow I we will be tackling the fly front and zipper.

That's all for the sewing. Oh, and I have to come up with another name in case this project results in a wadder. It's too late to be using it during apple picking season. We're done.


Friday, 25 October 2013

Reverse engineering

For the Make a Garment a Month Challenge I am trying to copy my favorite jeans. You can read more about this ambitious plan in this post . The Craftsy course is really helpful. Kenneth King is guiding me step by step through the process, with lots of technical tips and tricks.
The first step is thread tracing lengthwise and crosswise grainlines in the original jeans.


Seams, pockets, yokes, every feature is thread traced to make it easier to copy all needed information from the garment. (This method can be applied on all garments you want to copy, not just jeans).
I forgot to make an overview picture, but the jeans in the picture below shows the tread traced lines:

Craftsy.com

The information is first transferred to silk organza, from there to paper. Voila!


The pattern ready and cut out. 

I did some test runs for the topstitching. I did not want it to be very contrasting so I just used a double thread in a color that matches my fabric. Here is one of the backpockets. I have some cleaning up to do, lots of threads to pull to the backside and tie together for a neat finish.


That's as far as I got. Some emergency apple picking due to storm forecasts changed my further sewing plans. This weekend I'm off to Amsterdam to enjoy a ballet performance, back in the sewing room on Monday!