Pages

Showing posts with label Sewing. Show all posts

Monday, 16 April 2018

Two Blackwood cardigans


I don't know why it took me so long but I finally made my first Blackwood cardigan, immediately followed by the second version.

For those of you not familiar with the pattern, it's a PDF pattern, designed by Helen Wilkinson of Canadian pattern company Helen's Closet, and can be found here.


Blackwood cardigan
The Blackwood Cardigan is a cozy and versatile addition to your wardrobe. Designed with layering in mind, it has minimal excess fabric in the front and a close fit around the neck and shoulders. Its fitted shape and extra long sleeves make it perfect for wearing under jackets and vests, while also looking stylish over tank tops and dresses. View B ends at the hips, while View A extends down to the mid-thigh and includes patch pockets at hand level.  The Blackwood is intended to be worn open and is not designed to close at the front.


Actually now that I'm writing this blog post I can suddenly see why I wasn't convinced by the looks of this cardigan when it first came out. I don't like those extra long sleeves (reminds me of ill fitting RTW) and I hate pockets in knitwear. When the Blackwood first popped up on blogs and Instagram everyone seemed to be raving about the features that I knew would make me look frumpy.

After a few less than stellar results with the popular M6844 cardigan pattern (not yet blogged) I took another look at the Blackwood and decided to give it a go. Without pockets of course, and with considerably shorter sleeves.

I had an end-of-the-bolt piece of  wool knit, just enough for the shorter version (view B). It's a good thing I shortened the sleeves by 6 cm, otherwise I would have ran out of fabric.


I love how this pattern came together. The shoulder fit was so much better straight out of the envelope than I ever achieved with the McCall's pattern, despite making several adjustments. I like the overall length of the cardigan and the cuffs are a nice way to finish the sleeves.


The only thing I will change when I make this view again is the width of the hem band. I'm just not fond of that horizontal line across the high hip, which unfortunately highlights my widest part.  I'll make the hem band the same width as the front band and add extra length to the bodice to compensate.

While the pattern was still on my sewing table I decided to have a go at view A as well.


This time the fabric was a rather lightweight wool/rayon knit. I kept the hem band at the original width, thinking the hang would benefit from the extra weight. In fact I do like the wide band on the longer version.


Now that's my kind of outfit! Ames jeans, Concord Tee and a colourful cardigan.

I equally love both lengths of this pattern but I prefer the look of a plain cardigan/print tee over the print cardigan/plain tee. It took me a while to find my perfect cardigan pattern but nothing will keep me from sewing a rainbow of Blackwoods now!


Sunday, 25 June 2017

Foxgloves and tees


After finishing two time consuming projects in a row, a winter coat and a French jacket, I felt the need to change my sewing pace. I wanted to make something quick and easy. Around this time of year the garden is seriously eating up my spare time so it was not just a matter of looking for instant gratification. When there is little time even simple projects can take ages so I steered away from my usual habit of overthinking and overcomplicating things and went straight into the sewing room to look for inspiration.


I found a piece of jersey in my stash that was just waiting to become a Cashmerette Concord tee. Number six, or seven, I lost count.


As you can see the Concord Tee is an essential part of my gardener's uniform. I've already made all views: high neck, scoop neck, v-neck, short, medium and long sleeves, cropped length, mid length and long curved hem. This time around the length of my fabric did not give me many options: short sleeves and then hoping for the best regarding pattern matching.

Although I liked the idea of a short sleeved v-neck tee I was worried the angle of the triangles in the print would look weird with the different angle of the v-neck. So scoop neck it was, meaning it was an exact remake of this Concord. Shoulder adjustments, size 18 G/H and a bit of extra ease at the waist.


The jersey is rather thin and clingy, which means it works better as a layering piece. Or for showing off those biceps, after carrying around watering cans....


Now that this pattern is still on my sewing table I'm making a few adjustments to try a different shape. Giving the bodice some flare and doing a front and back v-neck. We'll see how this ends!

Wednesday, 30 April 2014

Mabel, what's not to like?


After a month of more sowing than sewing here at Foxgloves HQ I'm back to show you the first of many, many Mabels. I've made a lot of old school pencil skirts: woven fabric, pegged, lined, slit. The kind of skirt that is utterly useless when walking the dog, mowing the lawn or riding your bike to the grocery store. In my neck of the woods two out of three of these examples are daily business, so pencil skirts are SOO (Special Occasions Only). But, thanks to Colette Patterns there's a major breakthrough. Mabel is a pencil skirt that's so comfortable you could even go to sleep in it!

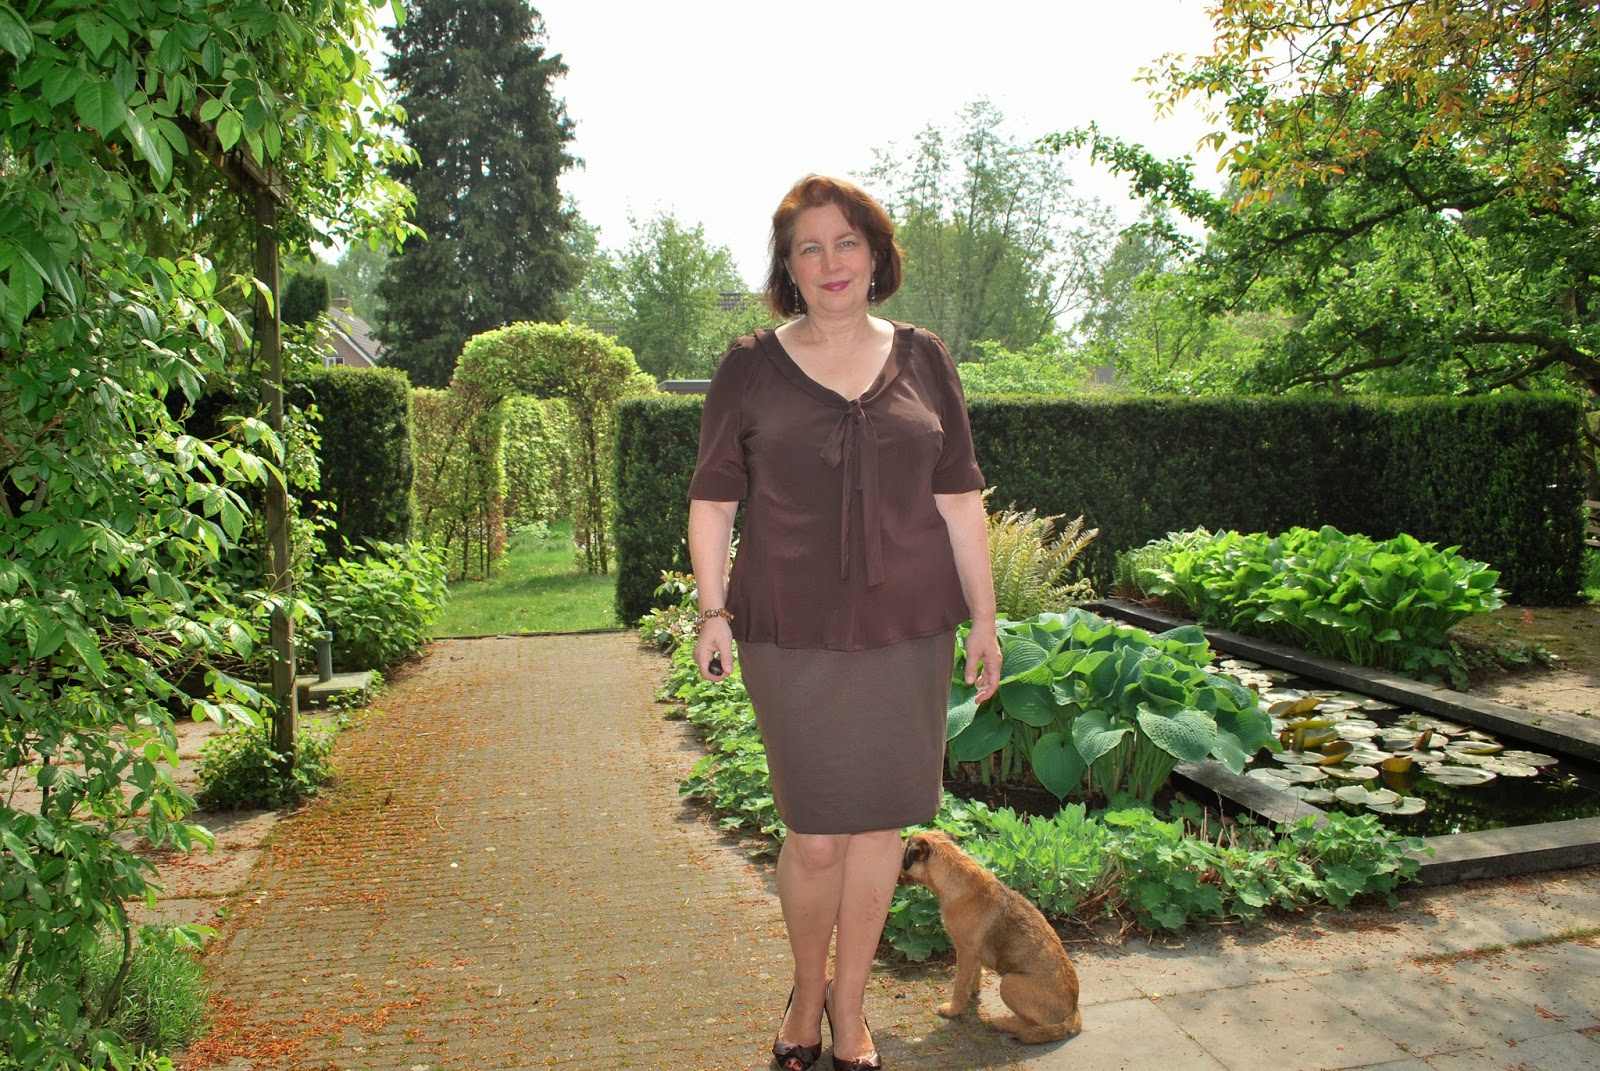
Colette Mabel skirt and Lekala 8004 top


The construction of this skirt is quick  could have been quick, if only I had put some trust in the pattern makers. In order to avoid the dreaded muffin top I chose a bigger size for the waistband. Which resulted in gaping at the back. After some seam ripping I even took out more than I originally added.
I was also worried about the length of the skirt. I'm 1.73 m (5'8) and could not find the heigth this pattern was drafted for. I added 4 cm to the pattern pieces. Guess what? Exactly the amount I had to cut off again at the final hemline. 


Colette Mabel skirt and Colette Jasmine blouse


One more note on the construction. Since I mentioned making the Mabel skirt I noticed some traffic to my blog via Google search on 'How to sew a kick pleat in the Mabel skirt'. Let me reassure you. It's not a slit construction, it's just a simple pleat. Sew a straight line, fold to one side and make a little topstitch. That's all!


Instead of using a twin needle for quick hemming I chose for hand sewing. My usual routine, never take the easy way if you can make things a little more complicated... 

This skirt is so versatile! I like all three outfits I made up with this simple skirt and can think of many more.
More on the Lekala top can be found here, for more on the Jasmine click here.

Since this was my first session with a tripod and a remote I'll make this post picture heavy, just because I can.


Well, you get the picture. When in doubt, make a Mabel skirt!

Monday, 30 September 2013

The Berry picking dress


Smart doggy. She can tell there's a loooong story coming up about the making of another dress. So here it is. Remember this dress? A few days after I finished it I was picking strawberries and got all tangled up in some bushes. Note to self: think again before wearing chiffon while gardening.
 I'm not much into dungarees or overalls so I decided to go for a sturdy remake of the dress and wear the chiffon one only on ladylike occasions. Since most of the fruits we're growing in our kitchen garden are red, making a red cotton dress seemed like the most sensible choice. Not that I can spill red currants or raspberries totally unnoticed, but it never hurts to pick a  forgiving colour and busy print for garden jobs.


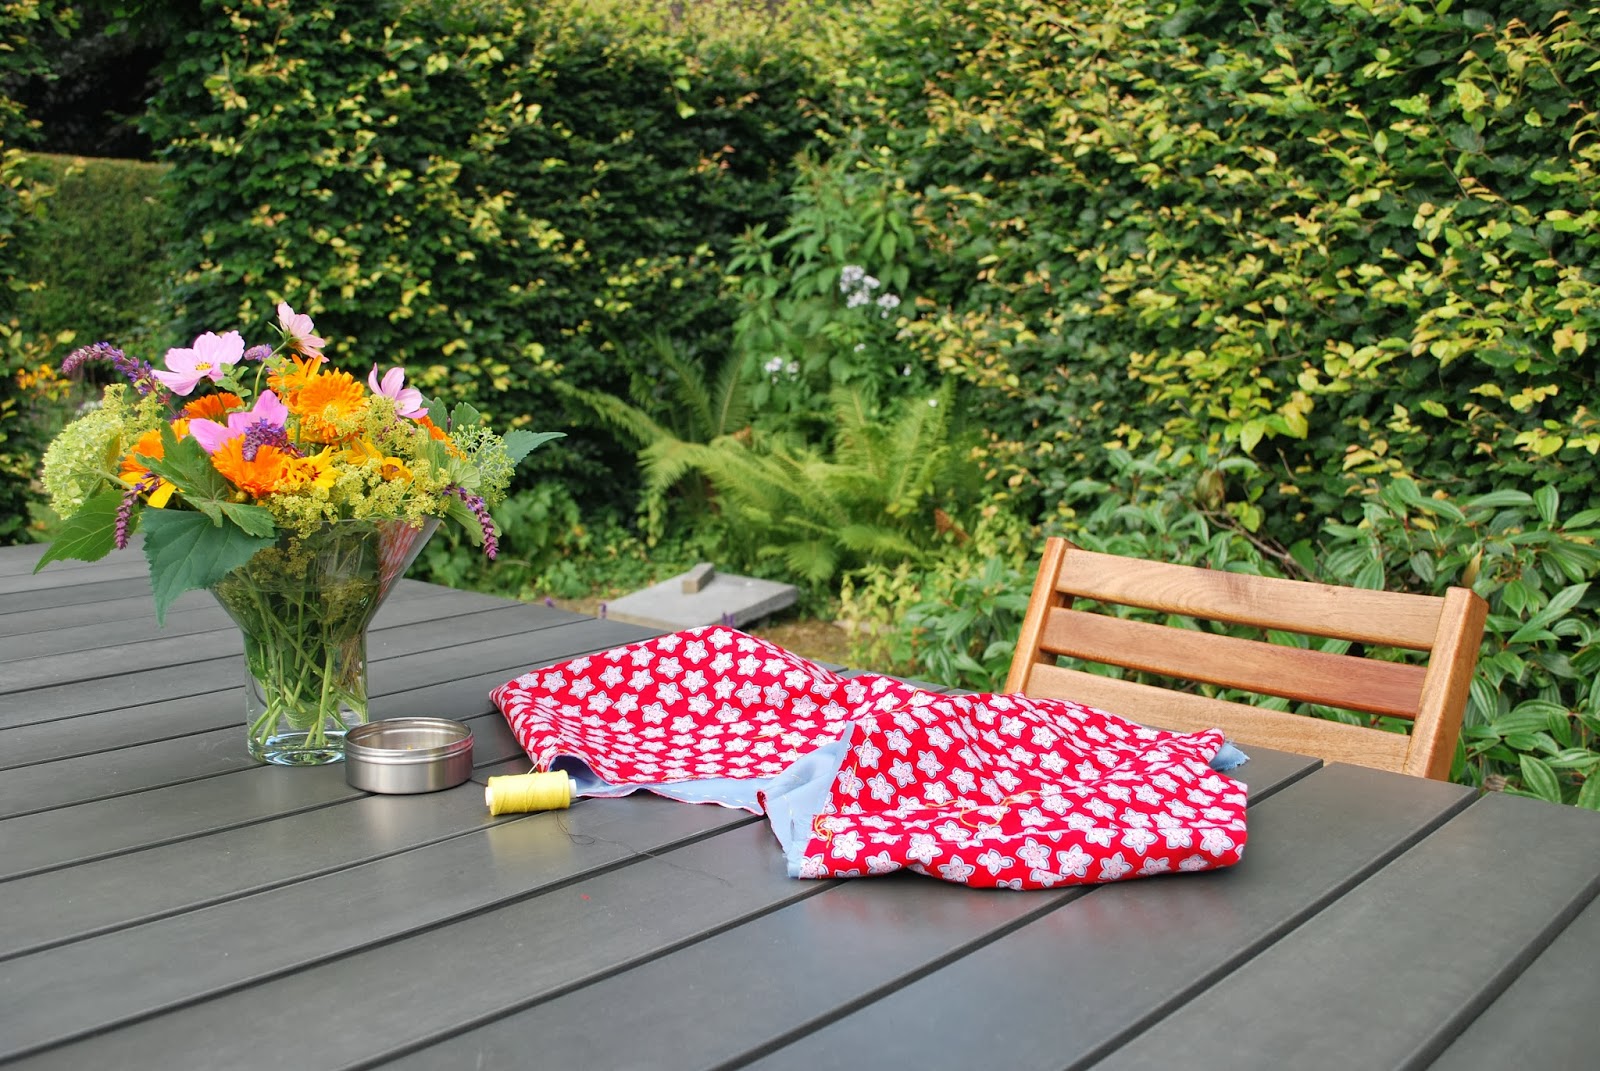
We had an extraordinary summer, so there was very relaxed hand basting in the sun. I shortened the skirt by six inches and changed the front neckline to a deep v-neck. The dress was fully lined and I hemmed the skirts with contrasting bias tape.


 I made the red bias tape for the lining following the continous bias tape tutorial on the Colette Patterns blog.


The hems were seamed by hand on yet another sunny day in the garden.


The finished hems.


Inside out.


Photobomb!

Someday I will find that tripod....


Wednesday, 18 September 2013

The Joi dress


The Anna dress is slowly progressing, but there's not much to show yet. So I might as well post a dress I made earlier this summer. The pattern is from the Dutch sewing magazine Knipmode.

Knipmode 4/2013-8


Since my fabric, a flowery chiffon, was very sheer I decided to underline the bodice with black cotton poplin. I handbasted the two layers together which resulted in opaque and stabilized pieces. Lauren wrote a very educational post about the why and how of underlining.


For the skirt I wanted to preserve the drape of the chiffon, so I finished fabric and lining separately with french seams. To my surprise the pattern did not use facings for either the front scoop neck or the deep v-neck in the back. I prefer my necklines to keep their shape, so I drafted facings and added a light fusible interfacing. I used satin tape to sew the facing to the lining. Just for the fun of it.


I handpicked my zipper, a tutorial can be found here.


When it came to hemming chiffon I had absolutely no clue about the best way to deal with it. Google to the rescue. Google came up with a YouTube video of a very brave lady, hemming an intricate bridesmaid dress by using a candle. A burning candle. What the....? Call the fire brigade in order to rescue my french seams and handpicked zipper? Never! After some more surfing the interwebs I decided to stitch once, cut off the seam allowance and roll over again. It took some time to finish that tiny hem in the sheer and slippery fabric but I preferred the look over the curled edges that were the result of the scary burning process.


Hemming the lining skirt was much quicker  could have been a quicker job but I decided to go a little overboard for the sake of prettiness. I finished the hem with some black lace.


 Black on black, on the inside, mmm. Oh, well. Did I mention going a little overboard?


 Yo! Can you blame me for flashing my skirt when I get into my car?

The finished dress, with the scoop neck in the front:


And the deep v-neck at the back:


Tuesday, 10 September 2013

Constructing the Negroni shirt

It's been said before, and I'll say it again: Colette's instructions are excellent. Designer Sarai Mitnick and her team aim at making 'Sewing Patterns that Teach'. The 25 pages instruction booklet that came with the Negroni pattern certainly taught me some new tricks. One of them involved cutting a template out of cardboard to assist in pressing perfectly formed patch pockets.


In addition to the instruction booklet I found some useful tutorials on various blogs. The best advice on how to get perfect collar points was found on Pamela Erny's blog Off the Cuff. Pamela shares the secrets of Custom Shirtmakers: "When we want a point, we SEW a point, we do not pivot." And: "We TURN collars, we don't poke them out with pointy objects." Makes sense to me! 
So I turned the collar following Pamela's rules. It's clean, easy and fast. 


Then there was that moment of fear that everyone who sewed the Negroni shirt will recognize. 


Bummer! Is this really how it is supposed to look?
Peter Lappin to the rescue! I checked the pictures of his famous Men's shirt Sew-along and discovered that my mess looked a lot like Peter's mess. There was light at the end of the tunnel!


Diving in, head first


When I spotted the Colette Negroni shirts, created by the contestants of the Super Online Sewing Match, I immediately knew I wanted to make one for my husband. Since Sew Mama Sew also hosted a Super Online Sewing Community Match I told myself now was a good time to enter the online sewing world. No more procrastination, my entry for the contest should be finished by September 10th.

Three weeks to buy fabric, download the pattern, start a blog and open a Flickr account. Oh, and stitch up a men's shirt with convertible collar, flat felled seams, sleeve plackets and a lined back yoke. Right.

First things first. Fabrics. I wanted my husband to be involved in the selection process, but he did not seem overjoyed by the prospect of going through multiple pages of online fabric stores. Neither was I. Over to another cunning plan. It took some persuasion from my side but promising to buy him a nice meal in the nearby town was enough to get him to accompany me to the weekly fabric market. Food bribing. Always works.

It did not take long for him to find the fabrics of his choice. Considering the retro feel of the Negroni shirt I was very pleased he chose a fine cotton with a vintage print in two matching colours. He also picked the buttons in bright yellow. Love that combination! The guy certainly deserved his meal.