Pages

Wednesday 25 April 2018

Two Ottobre Design tops


Another finished duo! Lately I seem to be making my garments per two, not sure why? Maybe it's a sign that reality is starting to sink in. The combination of a long RTW fast, combined with my slow sewing pace, is now causing serious wardrobe gaps. Using a pattern that's already gone through the fitting process is considerately speeding things up.

This top started out as a Knipmode dress. That didn't work very well, to put it mildly The knit fabric was too clingy and the tiny print didn't do me any favours. It was both a matter of scale and colour. Up close I liked the mix of chocolate brown, turquoise and white. From a distance the overall colour looked rather muted and there were just too many mini daisies all over me in a knee length dress. The dress was out of sight until it resurfaced during a recent sewing room cleaning.


Before tossing the fabric I checked if it would go with any existing garment in my wardrobe. And it did! Dark brown linen trousers, brown Mabel skirt, white jeans and a turquoise RTW cardigan. This fabric could be turned into the missing link for three different outfits. I figured that as a layering piece the clingyness wouldn't bother me so much, extra colour could be added by the cardigan and the daisy overkill would be reduced to an acceptable level. Triple win!


The top is #9 from Ottobre Woman 2/2014. It's the only Ottobre magazine I own, and it was bought for the pattern of the trench coat I made three years ago. I always flip through the pages of new Ottobre issues but haven't bought any in the last four years. Too many hoodies, leggings and t-shirt dresses. The patterns may lack interesting details, the drafting does not! At a closer look this basic looking top came with a few surprises.


The pattern is half lined. The lining ends just above the waist and the bottom is finished with clear elastic. For European sizes 44 and upwards there's a built in cheater FBA. The front bodice is slightly longer between the arrows to provide extra room for the bust. The extra fabric is gathered before sewing the side seams.


And it worked! No drag lines indicating a bigger FBA was needed. I really like the polished look of the neckline and armholes. No bands, no visible stitching.
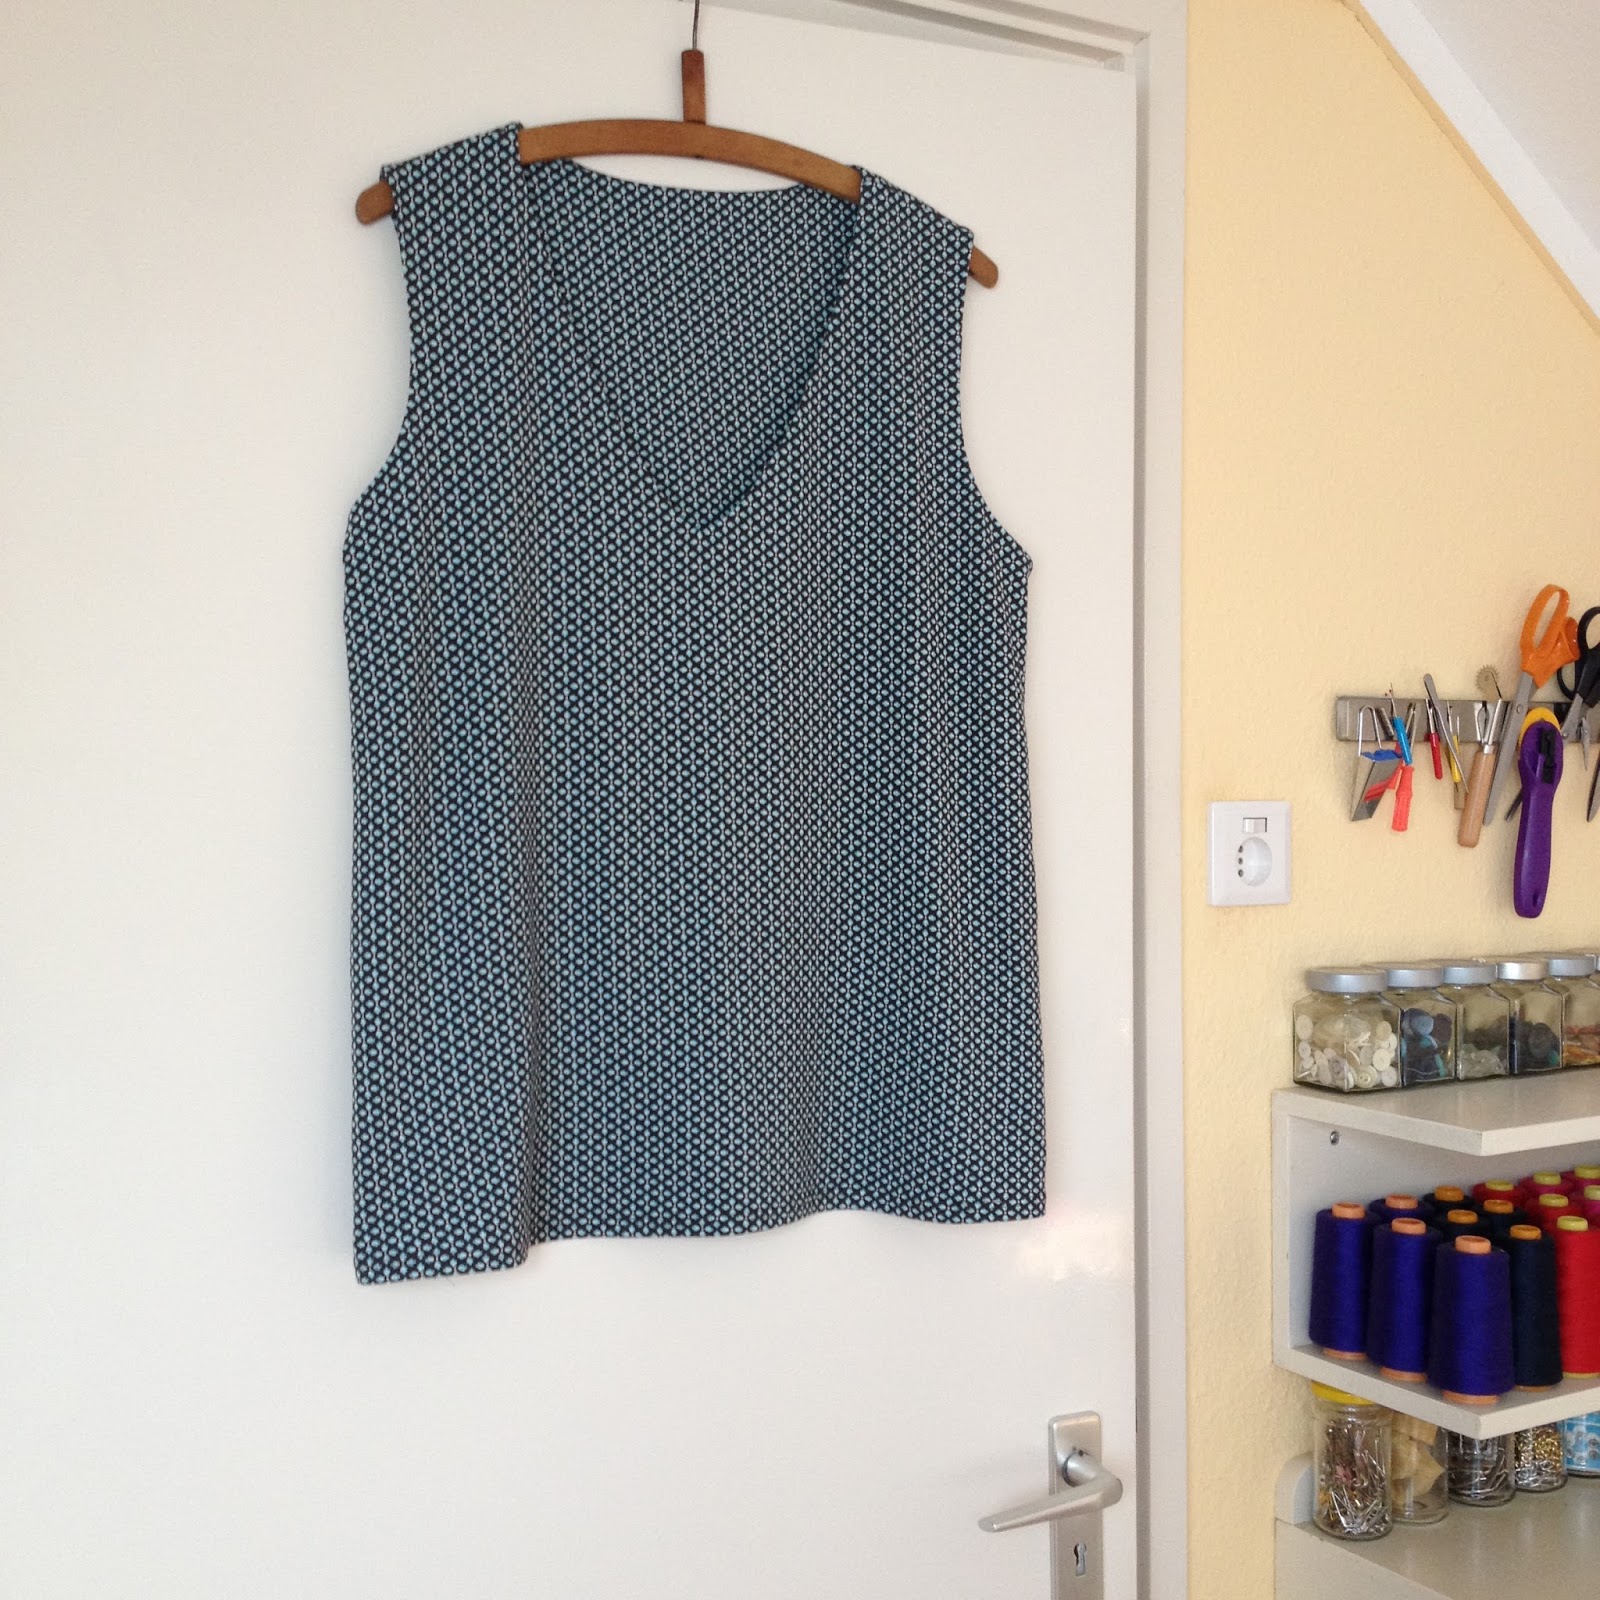

Inside (back)

I also made this top in white. Instead of the half lining I used a full length lining as I feared the end of the lining would be visible. Now I'm tempted to line all my tops as it feels so luxurious!  With the half lining you still notice the button and belt loops of my jeans poking through, the full lining is more forgiving and smoothing out lumps and bumps.


As you can see I used off white for the lining as I had only just enough fabric for the outer shell. A good way to use up scraps. This top is waiting for warmer weather to be worn sleeveless with a bright floral skirt. But you have already seen me wear it my previous post, together with a Blackwood cardigan.


I can see myself make a few more of these tops. Maybe change the neckline to a square neck, sweetheart or any kind of neckline you won't be able to create with a neckband. I'm not a fan of facings in knit garments but I sure am a fan of lining from now on!

Monday 16 April 2018

Two Blackwood cardigans


I don't know why it took me so long but I finally made my first Blackwood cardigan, immediately followed by the second version.

For those of you not familiar with the pattern, it's a PDF pattern, designed by Helen Wilkinson of Canadian pattern company Helen's Closet, and can be found here.


Blackwood cardigan
The Blackwood Cardigan is a cozy and versatile addition to your wardrobe. Designed with layering in mind, it has minimal excess fabric in the front and a close fit around the neck and shoulders. Its fitted shape and extra long sleeves make it perfect for wearing under jackets and vests, while also looking stylish over tank tops and dresses. View B ends at the hips, while View A extends down to the mid-thigh and includes patch pockets at hand level.  The Blackwood is intended to be worn open and is not designed to close at the front.


Actually now that I'm writing this blog post I can suddenly see why I wasn't convinced by the looks of this cardigan when it first came out. I don't like those extra long sleeves (reminds me of ill fitting RTW) and I hate pockets in knitwear. When the Blackwood first popped up on blogs and Instagram everyone seemed to be raving about the features that I knew would make me look frumpy.

After a few less than stellar results with the popular M6844 cardigan pattern (not yet blogged) I took another look at the Blackwood and decided to give it a go. Without pockets of course, and with considerably shorter sleeves.

I had an end-of-the-bolt piece of  wool knit, just enough for the shorter version (view B). It's a good thing I shortened the sleeves by 6 cm, otherwise I would have ran out of fabric.


I love how this pattern came together. The shoulder fit was so much better straight out of the envelope than I ever achieved with the McCall's pattern, despite making several adjustments. I like the overall length of the cardigan and the cuffs are a nice way to finish the sleeves.


The only thing I will change when I make this view again is the width of the hem band. I'm just not fond of that horizontal line across the high hip, which unfortunately highlights my widest part.  I'll make the hem band the same width as the front band and add extra length to the bodice to compensate.

While the pattern was still on my sewing table I decided to have a go at view A as well.


This time the fabric was a rather lightweight wool/rayon knit. I kept the hem band at the original width, thinking the hang would benefit from the extra weight. In fact I do like the wide band on the longer version.


Now that's my kind of outfit! Ames jeans, Concord Tee and a colourful cardigan.

I equally love both lengths of this pattern but I prefer the look of a plain cardigan/print tee over the print cardigan/plain tee. It took me a while to find my perfect cardigan pattern but nothing will keep me from sewing a rainbow of Blackwoods now!


Thursday 12 April 2018

Review Knipmode May 2018


Bamm! Another 25 sewing patterns and 1 knitting pattern just landed on my doormat. I can hardly keep up writing these reviews, let alone keep up with the sewing! Although Knipmode made the latter easier by producing a few boring issues in a row. Let's see what this magazine brings.

Pattern overview Knipmode May 2018

For a mid- to late spring collection again a lot of long sleeves. And just like last month, many drawstrings and belts to suggest shape in otherwise shapeless patterns. But the overall vibe is certainly less depressing and a wider range of colours, prints and shapes makes this edition definitely more interesting than its predecessor.

Dress 7, Jacket 1 and pants 3, tunic 15 (a long shirt with attached wrap)


Three versions of the same easy pattern, (22, 21 and 20) 
Quite different looks and styles. I like how the belts completely hide the elasticized waists.


Dress 23

May's designer dress is a flowy knit dress with piping along the yokes and belt.


Coat 17, culottes 10, maxi dress 8

I hope I'm not offending anyone with plans to sew is this yellow coat, but it's a strong contender for the 'Monstrosity of the Month' title. Please prove me wrong!


Coat 17, jacket 18, pants 4

Nope. Not getting any better in close-up, and imagine how long it takes to dry after a spring shower with all those pleats! It does look much better as a short jacket. It's not just the shorter length that improves the proportions. The neckline and cuffed sleeves also create a more polished look that goes  well will the slim capri pants.


Skirt 19

I had to blink a few times when I first noticed the plaid skirt. Really, Knipmode? 'Let's turn the bottom part of that yellow coat into a skirt! It would be a shame to only use those awesome pockets once!' But okay, if you're into the style I can see how it works in satin with a good drape.


Four versions of blouse 24

From crispy white cotton to drapey olive green rayon, these pictures highlight the effect of the fabric on the overall look. A nice and versatile shirt pattern. I'll put this on my to-sew list to compare this to the M6436 shirt I posted last week. I like the slimmer sleeves and it's interesting to see if my usual FBA ends up with a less gigantic dart.


Dress 5

Interesting seam lines! Six darts in the bodice, four in the skirt and one in the sleeve cap. Nice!


Dress 6

Same bodice with a pleated skirt in a lovely mix of fabrics. The pleating looks different from the line drawing, check the unfortunate placement of that pleat on top of the models hip! 

Well, overall not an earth shaking collection, but at least a few patterns that I consider making.

And now for the latest Knipmode news: remember how back in January the editors announced changing the pattern nomenclature from unique number code to female names? And we wondered how long this silliness would last? Now we know: four months. Back to numbers it is.

In other news, chief editor Peggy Weyergang will retire in July. It will be interesting to see whether the new editor has a background in fashion, publishing or marketing and whether or not she/he has affinity with sewing. More on that later when the new chief editor is announced.


Disclaimer: this review contains no affiliate links. I paid for my copy and all opinions are my own. All patterns are available as PDF over at the Knipmode shop  Photocredits: Knipmode.

Saturday 7 April 2018

McCall's 6436 shirt in rayon crepe


A while ago I found this pretty rayon crepe fabric. Birds and flowers against a black backdrop, I just couldn't resist. I wanted to make a blouse that would showcase the lovely drape of this fabric and ordered M6436 during an online sale. It's a loose fitting shirt with front and back darts, front band, pleated two-piece sleeve with cuffs and a collar with collar stand.


I made view D and used the DDD cup size. Although I like the idea of different cup sizes I'm not too keen on the way it's executed in this pattern.


 That dart is gigantic! And it's also ending way too close to the bust point. Shortening the dart of course changes the angle of the dart legs, making it even more challenging to sew a decent looking non-pointy dart. It worked out fine with some careful pressing and of course those birds are a big help when it comes to cover up any less than perfect stitching. If I sew this pattern again I will definitely split these darts!

I used lightweight fusible interfacing for the collar to keep that soft look.


This shirt runs very long. I shortened it considerably but can't find the exact amount as my construction notes are missing. Another reminder to blog my projects as soon as they're finished!


Sleeve construction is simple. No placket, just leaving an opening in one of the sleeve seams will do. The perks of a two-pieced sleeve.


The back of this shirt is more fitted than the front. The darts provide nice shaping which of course looks more streamlined when there's not an extra layer bunching up underneath because you're freezing during a misty, moisty morning photoshoot.


The sleeves have a lot of volume, which works nicely with this drapey fabric.


One last picture of the blouse in action.


Can you tell there's a loved one behind the camera? That silly tripod on the other hand never provokes a genuine smile. Oh, and my Ames jeans, as seen in the top pictures, is no longer in one piece. Serious surgery under way! Whether surgery will be successful or not remains to be seen, update soon.

Final thoughts: 
It's a dream to wear, mainly due to the lovely fabric. This pattern absolutely needs a lightweight fabric like crepe, lace or silk to gently skim the body. The pattern runs large (and long). If I sew this again I will change that oversized dart and probably adjust the shoulders or add shoulder pads. But these are minor issues as I'm very happy with how this blouse turned out!