Pages

Showing posts with label fitting. Show all posts

Tuesday, 19 November 2013

Fitting buddies for a day

A few weeks ago I was celebrating my birthday. For me the best thing about birthdays is having the kids around. And they brought the best of gifts!


A Kenneth D King inspired ruler, a gift card from my youngest daughters favorite fabric store in her hometown Enschede, flowers and a big chunk of beeswax. Sewing related presents and flowers, those girls and their boyfriends know me so well!

One of my daughters could stay for another day and she wanted some help on sewing a Sewaholic Pendrell blouse. Since she wants to make all three views of the pattern we decided to make a muslin, tweak that to perfection and then make all necessary adjustments to the flat pattern.

sewaholic.net


She's just over 1.80 m tall so I was hoping to check if the waistline hit her at the right spot. Boo! No waistline mark! So we eyeballed one on pattern and muslin and checked the fit. Not too bad. We took the princess seams in, adjusted the shoulder seam and then it was time to make those corrections to the pattern.


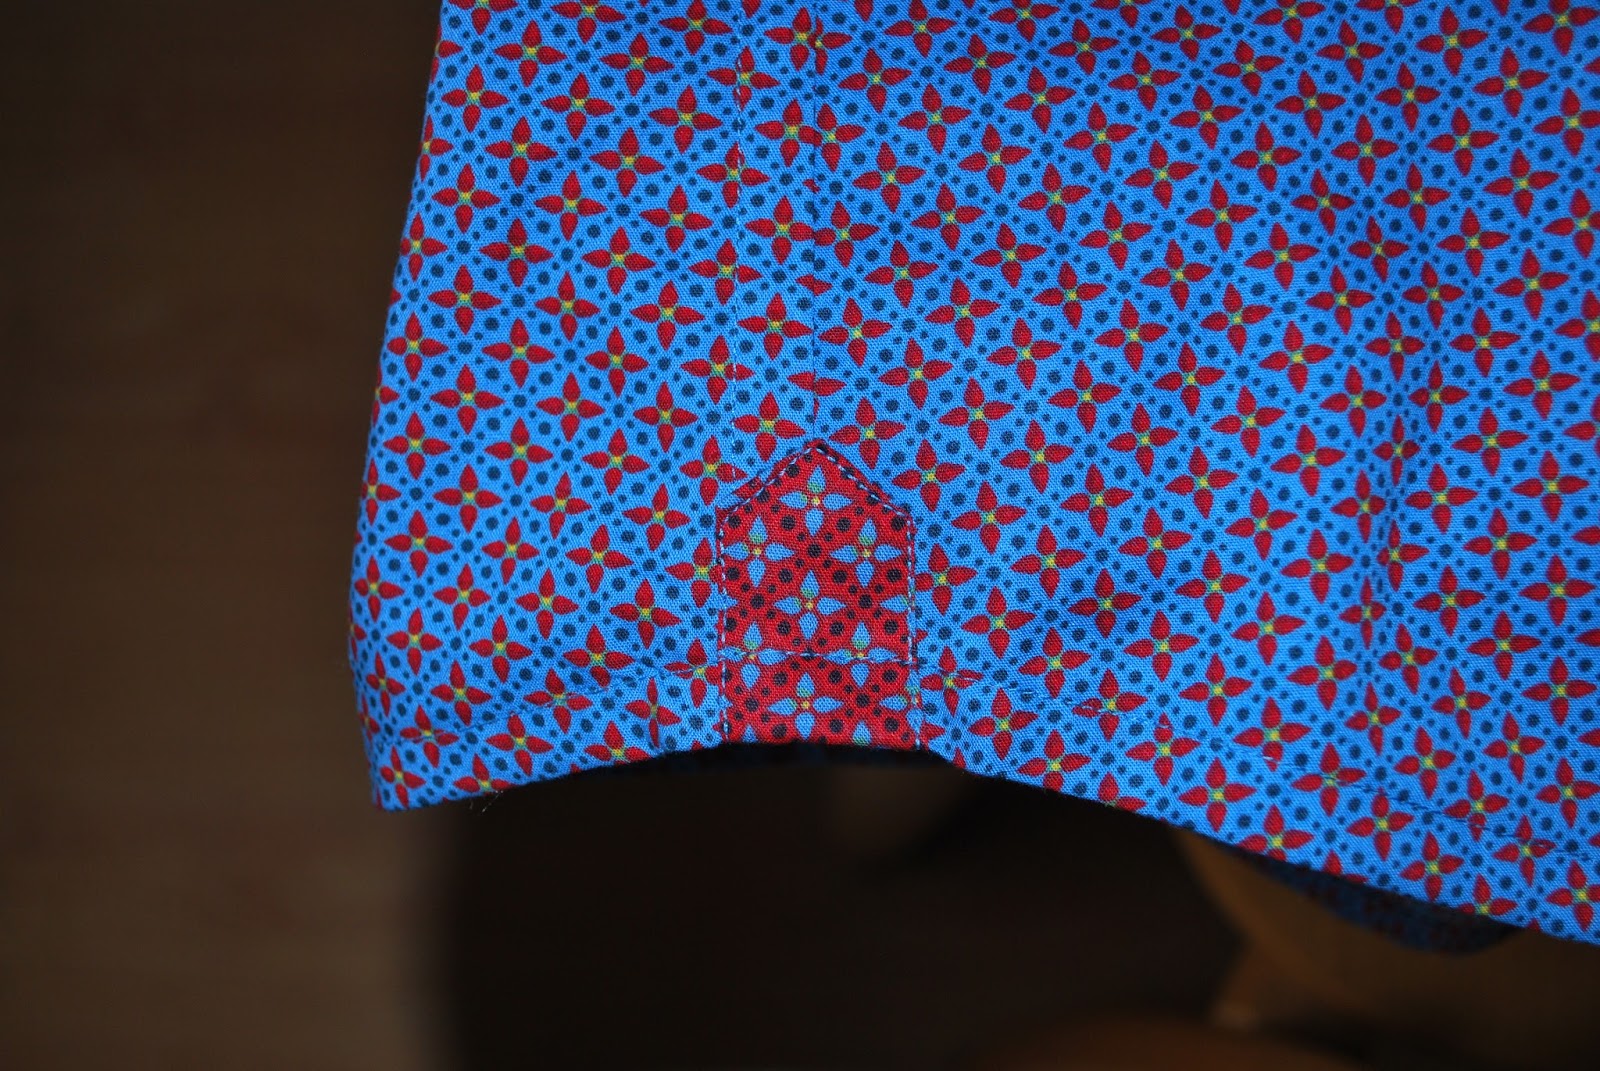
Things are obviously progressing well in Amsterdam cause she sent me this picture recently:

Look, mom! Matching seams!

Since I don't have sewing buddies around on a regular basis I asked her to check the fit of my jeans, aka Garment of the Month October (blush). Together we reached a surprising conclusion. As I was grumbling about the extra fabric at the back of my upper legs my daughter pointed out my original jeans had the same issue. Nooooo! Really?? Well, it turned out I DID succesfully copy my favorite jeans after all.
That's good, because I proved the method worked and in theory I know how to copy anything in my wardrobe now. But. My favorite jeans has its flaws.
Flaws I won't accept in my bespoke jeans pattern. So we pinned out the extra fabric and I'm in for some quality time with my seamripper. It will be fixed!

In the meantime I prewashed my fabric for the bow neck blouse that will be Garment of the Month November, I've traced the pattern and will be making a muslin. Since I'm not sure which of the sleevetypes I prefer the muslin will get one of each. I'm also opting for a bigger bow so it's playtime in the sewing room!


Thursday, 31 October 2013

Confession time


Remember my Garment of the Month? I posted my plans here, and wrote posts about copying the pattern from my favorite jeans and construction the pants here and here.This post is about work in progress part 2.
What's taking me so long?
Those brilliant video's with Kenneth D King!
Wait, weren't they supposed to be helping the progress? O yes, in the long run they certainly will. But for now I'm gazing at my iPad for hours in a row.

After finishing the pattern I was in doubt. Speed things up by quickly sewing the jeans (I have made my share of jeans, I could skip the tutorials), or watch every minute of the Craftsy course because you never know when another lightbulb moment will come up? I chose to follow the step by step construction and I was not disappointed. Usually I am not very good at 'follow the leader and do as you're told'-stuff. But watching a sewing genius at his best had a very relaxing effect. Mindless sewing: when the Maestro tells you to stitch your seam, or give it a good press, you just go to your sewing machine or ironing board and do it.
That's how I constructed the overlap at the fly by adding the fly facing piece, made the shield and installed the (thrifted) zipper. 


Uhh ohh, that's weird! I The zipper is placed with very little overlap. But who am I to overrule the professor? Then I noticed some comments made by classmates. One of them mentioned she was happy with her new jeans, except for the zipper placement. So much for mindless sewing. Time to get my brain in gear!
I finished the fly front in my usual way and went back to the course. 
Except for this little disagreement on zipper placement I loved the lessons, overloaded with amazing tips and tricks. How about pressing your seams on a wooden rail? Anyone? I won't spill all the secrets, but mr King is sharing some sew-changing miracles!

So. Where's the finished project?


The good news. It's really coming together and I tested the fit this afternoon. The fit is great at the hips and at the bottom, the front is really flattering because of the slimming effect of the pocketstays.
The bad news. The legs are a bit wide and the inseam needs a little bit of attention close to the crotch area.
Decision time. I can:
a) hurry up and make a quick fix in order to finish the October garment in October
b) keep calm and tweak on
The old me would now rush to the deadline. But after some sewing related contemplation I promised myself never to let deadlines interfere with the outcome of my work.
So sorry, Sarah Liz and fellow Garment of the Month makers, I fail, for perfections sake. Or does that sound like a lame excuse? Anyway, I will continue the quest for the perfect fit and go for option b.

Time for a little sewing break. My birthday is coming up this weekend and there will be some entertaining over at Foxgloves Castle. My sewing room doubles up as guest room, it's high time to evacuate. The guests might also expect some food and drinks, so I'm off stocking the fridge and baking cakes!

Wednesday, 16 October 2013

Week theme: fitting


When I was slowly working my way through tracing and fitting the Vogue 7975 muslin I received a very special delivery from Jane of Lucky sew and sew. Jane offered a giveaway to celebrate her third blogaversary and her dog Lucky picked me as one of the winners.

Hi Lucky! Good boy! (picture: Lucky sew and sew)


The parcel from Maryland was inspected by his Dutch counterpart.
Note the little scissors, pincushions and spools on the envelope!


 Wow, such great timing! We had a terribly rainy weekend and I was very much into the fitting topic.


I read a lot of posts that referred to methods used in this book but had never laid my hands on a copy. Once I opened the book I started reading from cover to cover, breathlessly. Mennn, this book got more suspense than the latest Dan Brown. I just couldn't stop reading. Pati Palmer and Marta Alto, what took you so long to enter my sewing room? This is most definitely a sew-changing experience!
And there was more:


Fit week. See?
This book on sewing lingerie that fits, as tempting as it looks, will have to wait till I finished my LFJ, my Anna Dress and my Garment of the month jeans. It's already slightly overcrowded on my sewing desk. Oops. How did that happen?

Also in line with the fit theme of the week were some epic posts, written by Sunni at A fashionable stitch Develop a basic range of styles that fit you and use them over and over again.” 
I highly recommend Sunni's Focus on Fit posts to anyone struggling with fit issues!

Great food for thought while fitting my LFJ muslin. It's been a while since I made a pattern with princess seams and I almost forgot how relatively easy it is to make adjustments to these seams. Since V7975 is such a basic style, it is a wonderful pattern to use over and over again, adding design features, playing with fabrics and changing lengths. The perfect candidate to become one of my go to patterns. Extra incentive to get the fit spot on!


I rewatched some lessons from Susan Khalje's Couture dress class, checked my measurements set from the Joi Mahon fitting class and some tips from Lynda Maynards Sew the perfect fit (all on Craftsy) and of course I used the information from my new Palmer/Pletsch book. Thanks again, Jane!


The jacket fitting is almost ready, just some more tweaking on the sleeves.
Next job: jeans fitting. All hands on deck!

And here's one last secret message for Jane.

Psssst! Keep an eye on your mailbox!


Tuesday, 10 September 2013

Negroni, the big reveal


I enjoyed every minute working on this pattern. It came together like a dream, my seamripper stayed in its box during the entire project. The inside of the shirt looks very sharp and clean with it´s flatfelled seams. For more construction details read here.


The construction of the sleeve plackets looked a bit complicated at first, but after applying some origami folds as described in the instruction it almost sewed itself.


Contrasting fabric was also used on the inner back yoke, the inner cuffs and inner pocket flaps.


At the hem of the sideseams I added little contrast pieces. I drafted a little patternpiece to mirror the form of the sleeve plackets.                                                                                                                   


Men and buttons. I really sewed that second button from the bottom, dear!
Testdrive! For my 6 foot 5 inches tall husband (1.95 m) I decided to make size XL, based on the size chart. I somehow could not imagine long and patient fitting sessions in my sewing room, so I asked him to hand over his favorite shirt so I could work from there. Even after all my measuring and comparing the Negroni ended up a little big. And, for the first time ever: the sleeves were TOO LONG! (Even after shortening them with almost an inch). Next time, and I'm pretty sure there will be a next time, I will go one size down.


My husbands verdict on the shirt: nice feel, great finish: 'I think this will be my new favourite!' For the second Negroni he asked for some more.... extravaganza. The next Negroni will be even more bright and detailed. Well, count me in!